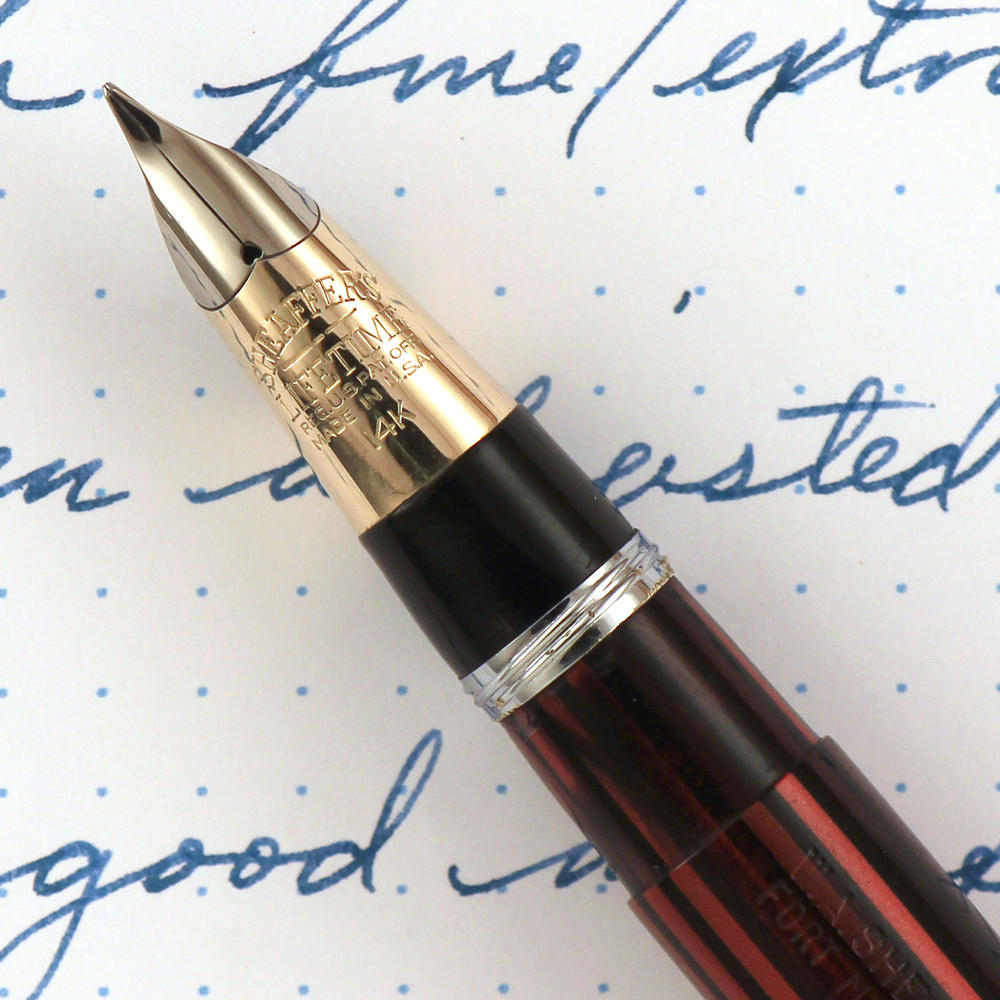
This pen was my grail pen for many months. I love everything about it. Sheaffer’s Triumph pen, with it’s extra-wide cap band is very distinctive looking. Sheaffer’s conical Triumph nib is not only very smooth writing but is a thing of beauty all on its own. Sheaffer’s vacuum ink filling system is my favorite because it allows for a large ink capacity and it is simple to operate (even if it is kind tricky to restore). It’s also very cool to see the ink rushing into the barrel when the plunger reaches the bottom. Add to all this the cool factor of the compact size of the Tuckaway pens and you’ve got just an awesome all around pen.

Restoring a Sheaffer vacuum fill pen can be somewhat tricky, but the hardest part, and arguably the part of the process that is most likely to turn a pen into spare parts, is pulling it apart. The nib unit consists of a sleeve, the feed, and the nib that are threaded into the section of the pen. To get this out I usually soak the pen in water and ammonia for a couple of days and then apply very gentle heat. After that you have to remove the old packing material at the end of the barrel (two rubber washers and two felt rings) using a 1/4 inch drill bit (turned by hand). The replacement packing material comes from David Nashimura.

In this particular pen, there was an additional problem in that there was a crack in the black section which keeps the pen from filling properly and creates leaks even if it did. I’ve never removed this black section on a Triumph pen without destroying it, but luckily I had a donor pen barrel that I could use. I put the donor pen on my homemade “lathe” (which is a brass rod, a drill, and some rubber stoppers) and removed the remaining barrel material leaving just the black section part that I needed.


Whenever I’m doing any sort of gluing in a pen restoration, I always like to use a solvent (in this case MEK) to get the joint as strong as possible. I wasn’t confident enough in my lathe turning work to be sure it would be an air-tight fit between the section and the pen. So I used the barrel shavings from the donor pen, dissolved them with the MEK, and used that as the adhesive for gluing the replacement section in. This section is never coming out again.

With the new section in, the new packing material in, and the rubber plunger gasket replaced, all that is left is polishing and reassembling the pen.


This post isn’t meant to be a tutorial, but I thought you might enjoy seeing a little bit of the process of restoring this awesome little pen.